

Winterizing a living quarters horse trailer protects the plumbing, water heater, batteries and other systems when the trailer will be exposed to freezing temperatures. Even if you live in a warmer part of Arizona, winterization can still matter if you store the trailer in northern Arizona or travel into colder areas of New Mexico, Colorado or other mountain and high-desert regions.
The exact procedure varies by trailer, living quarters converter and installed equipment, so use this checklist as a general guide and follow the manuals for your water heater, plumbing system, generator, propane appliances and other components.
Compare current LQ trailers at Zona Trailer Sales by horse capacity, living space, layout and towing requirements.
Browse Living Quarters TrailersDo You Need to Winterize a Living Quarters Trailer in Arizona?
Not every Arizona trailer needs the same winter-storage routine.
If your living quarters trailer stays in the Phoenix metro or another lower-elevation area where prolonged freezing temperatures are uncommon, your freeze exposure may be much lower than it is in northern Arizona.
Winterizing becomes more important if the trailer will be:
- Stored in Flagstaff, Prescott, Show Low or another colder Arizona area
- Stored at higher elevation
- Taken into New Mexico, Colorado or other freezing climates
- Left unused during a period when temperatures may drop below freezing
- Stored without reliable heat protecting the plumbing system
If freezing conditions are possible, protect the trailer before temperatures drop rather than waiting until the first cold night.
Step 1: Start With the Living Quarters Manual
Before opening drains or adding antifreeze, identify the manufacturer or converter of the living quarters and the major installed components.
Locate the manuals for:
- Water heater
- Water pump
- Freshwater and holding tanks
- Generator
- Battery system
- Propane appliances
- Any tankless water heater or specialized plumbing equipment
Valve locations and winterizing procedures are not identical from one living quarters trailer to another. Do not assume a procedure from another trailer applies to yours.
Step 2: Drain the Fresh, Gray and Black Water Systems
Water left inside tanks or plumbing can expand when it freezes and damage fittings, valves, lines and equipment.
Begin by disconnecting outside water sources and draining the freshwater system according to the trailer manufacturer's procedure.
Then empty the gray and black holding tanks at an approved waste-disposal location.
Do not leave significant amounts of water sitting in the tanks simply because the trailer will not be used for several months.
Current RV manufacturer winterizing guidance also calls for opening the low-point drains and draining water from the plumbing before freeze exposure. You can review a representative process in Keystone RV's winterizing guide, but follow the instructions for your own trailer and equipment.
Step 3: Shut Down and Drain the Water Heater
Turn off the water heater before draining the system.
That includes electrical and propane energy sources when the unit is equipped with both.
Allow the water heater to cool and relieve system pressure before removing a drain plug, anode rod or other component.
Tank-style and tankless water heaters can require different winterizing procedures, so do not treat them the same.
If your trailer uses a water-heater bypass, place the valves in the correct winterizing position according to the water-heater or living quarters manual.
Step 4: Open the Low-Point Drains and Faucets
Most RV-style plumbing systems include low-point drains intended to help remove water trapped in the hot and cold plumbing lines.
Open them according to the trailer's instructions.
Also drain or clear water from applicable fixtures, which may include:
- Kitchen faucet
- Bathroom faucet
- Shower
- Exterior shower
- Toilet supply
- Any other water-connected fixture
Check your owner's manual for the actual low-point drain locations because they vary by trailer.
Step 5: Blow Out the Lines or Use RV Antifreeze
Two common methods are used to protect RV-style plumbing after the water has been drained.
Compressed-Air Method
A regulated air supply can be connected to the appropriate water inlet to help clear remaining water from plumbing lines.
The allowed pressure depends on the system. Follow the living quarters or component manufacturer's pressure limit rather than assuming a generic compressor setting is safe.
RV Antifreeze Method
The plumbing system may instead be protected using RV-approved, non-toxic antifreeze designed for potable water systems.
Do not use automotive antifreeze in a potable water system.
Depending on the trailer, RV antifreeze may be drawn through the water pump and run through the plumbing until protected fluid reaches each required fixture.
Follow the manufacturer's procedure for your trailer because water-heater bypasses, filters, tankless systems and appliances can require different treatment.
Water heaters, ice makers, washing machines, filters and other installed systems may need their own winterizing steps. Follow the component manufacturer's manual before pushing air or antifreeze through them.
Step 6: Protect Drains and P-Traps
Even after water lines are cleared, water can remain in sink and shower traps.
If your chosen winterizing method calls for RV antifreeze in those areas, follow the manufacturer's procedure for protecting each drain and P-trap.
Do not forget less obvious drains such as an exterior sink or washer drain if your living quarters has one.
Step 7: Check the Propane System for Storage
Propane equipment requires more caution than basic plumbing.
Turn off appliances and store the propane system according to the trailer and appliance manufacturer's instructions.
Do not disconnect regulators, modify propane lines or attempt repairs simply as part of seasonal storage.
If you smell propane or suspect a leak, stop using the system and follow the safety instructions provided by the propane equipment manufacturer.
Zona Trailer Sales does not list propane-system winterizing or repair as a service, so specialized propane work should be handled by an appropriately qualified service provider.
Step 8: Prepare the Batteries
A trailer that sits for months can still experience battery discharge.
Before storage, inspect the batteries and follow the battery manufacturer's recommendations for charging, disconnecting or maintaining them.
The correct storage procedure depends on battery chemistry and the electrical system installed in the trailer.
Do not assume every battery should simply be disconnected and forgotten until spring.
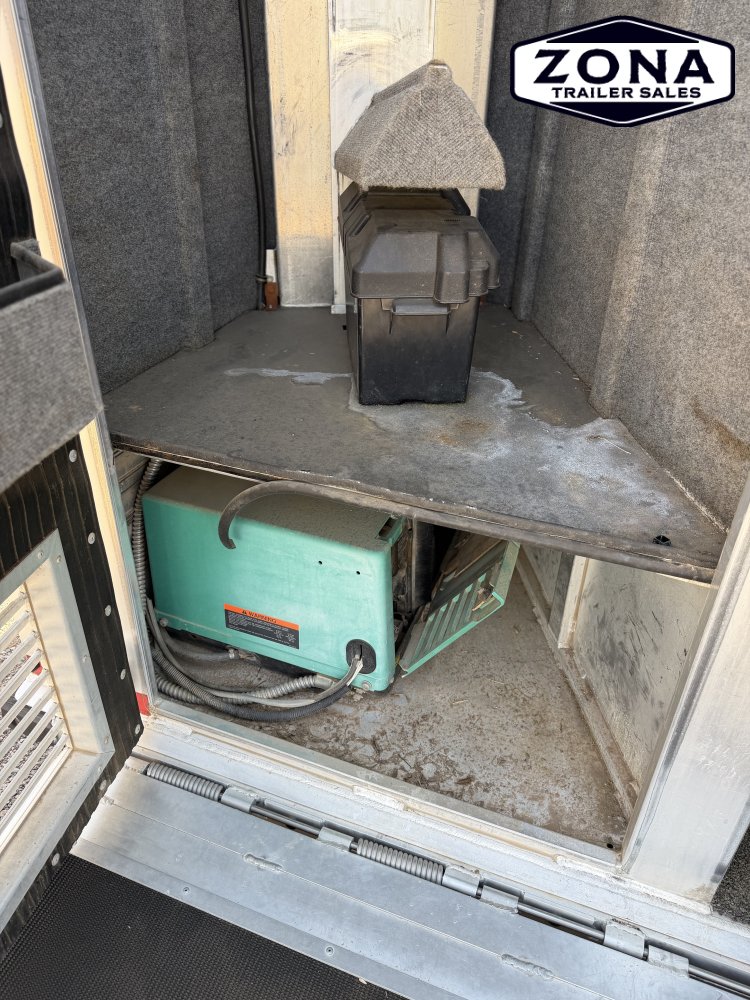
Step 9: Follow the Generator Storage Procedure
If your living quarters trailer has a generator, use the generator manufacturer's storage procedure.
Requirements can vary based on fuel type, generator model and storage duration.
Do not guess about fuel treatment, oil changes, exercising schedules or battery disconnect procedures.
Zona Trailer Sales does not list generator winterizing or repair as a service.
Step 10: Inspect the Roof, Seals and Exterior
Winter storage problems are not limited to freezing water lines.
Water intrusion through a failed roof seal, window seal or exterior joint can cause substantial damage while the trailer sits unused.
Before storage, visually inspect:
- Roof seams
- Roof vents
- Air-conditioner mounting areas
- Windows
- Doors
- Exterior sealant around penetrations
Follow the living quarters manufacturer's maintenance instructions before resealing anything.
Step 11: Clean the Horse Area Before Storage
The horse compartment should be cleaned before the trailer sits for an extended period.
Remove manure, bedding, dirt and other material that can trap moisture against the floor.
Lift removable floor mats when appropriate so the floor underneath can be cleaned, inspected and allowed to dry completely.
Check the trailer floor for damage, corrosion, rot or other deterioration based on the material used in your trailer.
Allow the horse area to dry thoroughly before closing the trailer for storage.
Step 12: Reduce Moisture and Pest Problems
A trailer sitting unused can become attractive to mice and other pests.
Remove food, grain, treats and anything else that could attract rodents.
Check openings around plumbing, wiring and storage compartments for obvious access points, but do not block required appliance or ventilation openings.
Inside the living quarters, clean food-storage areas and leave the interior according to the converter's storage recommendations to help limit odor and moisture buildup.
Step 13: Check Tires and Running Gear
Winterizing should also include the trailer side of the trailer, not just the living quarters.
Inspect:
- Tire condition and inflation
- Wheel condition
- Brake operation
- Bearings
- Exterior lights
- Trailer connector
- Breakaway system when equipped
If the bearings are due for maintenance, Zona's guide explains when and how to repack your wheel bearings.
Check the Trailer Brakes Before It Sits
If you noticed weak, grabbing or inconsistent brakes during your last trip, do not simply park the trailer and plan to deal with it months later.
Address known running-gear concerns before storage so the trailer is not starting the next season with an unresolved problem.
If you want to understand what the components are doing before having them checked, Zona's guide to trailer brakes explains the system in more detail.
Consider a Running-Gear Check Before the Next Season
Zona Trailer Sales does not offer living quarters winterization, plumbing, propane or generator service.
It does list trailer services related to brakes, bearings, lighting, wiring and other running-gear concerns.
If you are not sure whether those trailer systems are ready for another season, review Zona's information about an annual inspection or schedule a service check for the applicable trailer concerns.
If something about the trailer's brakes, bearings, lights or wiring needs attention, schedule a service check with Zona Trailer Sales.
Schedule a Service CheckLiving Quarters Winterization Checklist
- Check the living quarters and component manuals
- Drain the freshwater tank
- Empty gray and black tanks properly
- Turn off and drain the water heater according to its manual
- Set the water-heater bypass correctly when applicable
- Open low-point drains
- Clear plumbing with the approved winterizing method
- Use only RV-approved antifreeze if antifreeze is required
- Protect drains and P-traps as directed
- Follow propane-appliance storage instructions
- Prepare batteries for storage
- Follow generator storage instructions
- Inspect roof and exterior seals
- Clean and dry the horse area
- Remove food and pest attractants
- Inspect tires and running gear
- Record valve positions or other settings you will need to restore in spring
How to De-Winterize in Spring
Do not simply fill the freshwater tank and start using every appliance.
Reverse the winterizing procedure according to the living quarters and component manuals.
That may include:
- Restoring drain plugs and valves
- Returning the water-heater bypass to the operating position
- Flushing antifreeze from the potable water system
- Sanitizing the freshwater system when required
- Checking for leaks
- Restoring batteries
- Checking appliance operation according to manufacturer instructions
- Inspecting the horse area and running gear before travel
Do not energize a water heater until it has been returned to service according to its manufacturer instructions and properly filled when required.
Planning to Buy an LQ Trailer?
Winter storage is only one part of living quarters ownership. Before buying, compare water capacity, sleeping space, bathroom layout, climate control, horse capacity, trailer weight and towing requirements.
Zona's living quarters horse trailer buyer's guide explains the major buying considerations in more detail.
Shop Living Quarters Horse Trailers
Shopping for a living quarters trailer? See current LQ inventory at Zona Trailer Sales.
View Living Quarters TrailersLiving Quarters Winterizing FAQs
Do I need to winterize my LQ trailer in Arizona?
It depends on where the trailer is stored and where you plan to travel. A trailer stored in lower-elevation parts of the Phoenix area may have less freeze exposure than one stored in Flagstaff, Prescott, Show Low or another colder location. If freezing temperatures are possible, winterize the plumbing according to the trailer and component manufacturers' instructions.
Can I use RV antifreeze in a living quarters horse trailer?
RV-approved, non-toxic antifreeze is commonly used to winterize compatible potable-water systems. Do not use automotive antifreeze. Check the living quarters, water-heater and plumbing-component manuals first because some equipment requires a specific bypass or winterizing procedure.
Should I remove the batteries from my living quarters trailer?
That depends on the battery type and electrical system. Some batteries may be disconnected, removed or maintained with an appropriate charger during storage. Follow the battery and trailer manufacturer's storage instructions rather than applying one rule to every system.
Should I leave the water heater bypassed all winter?
If the manufacturer's winterizing procedure calls for the water heater to remain in bypass during storage, leave it in that configuration until de-winterizing. Record the valve positions so they can be restored correctly before the trailer returns to use.
Can I winterize the trailer by only draining the freshwater tank?
No. Water may remain in plumbing lines, low points, fixtures, the water heater, P-traps and other components even after the freshwater tank is empty. Follow the complete winterizing procedure for the installed system.
How do I de-winterize a living quarters trailer?
Follow the manufacturer's procedure to restore drain plugs and valves, flush the plumbing, return the water heater to operating configuration, check for leaks and prepare the electrical and appliance systems for use. Inspect the horse compartment and running gear before traveling again.
Compare current horse capacity, LQ layouts and available features at Zona Trailer Sales.
See Living Quarters InventoryLiving quarters plumbing, water heaters, appliances, generators, batteries and winterizing procedures vary by manufacturer, converter and model. Always follow the manuals for the specific systems installed in your trailer. Zona Trailer Sales does not list living quarters winterizing, plumbing, propane or generator service.